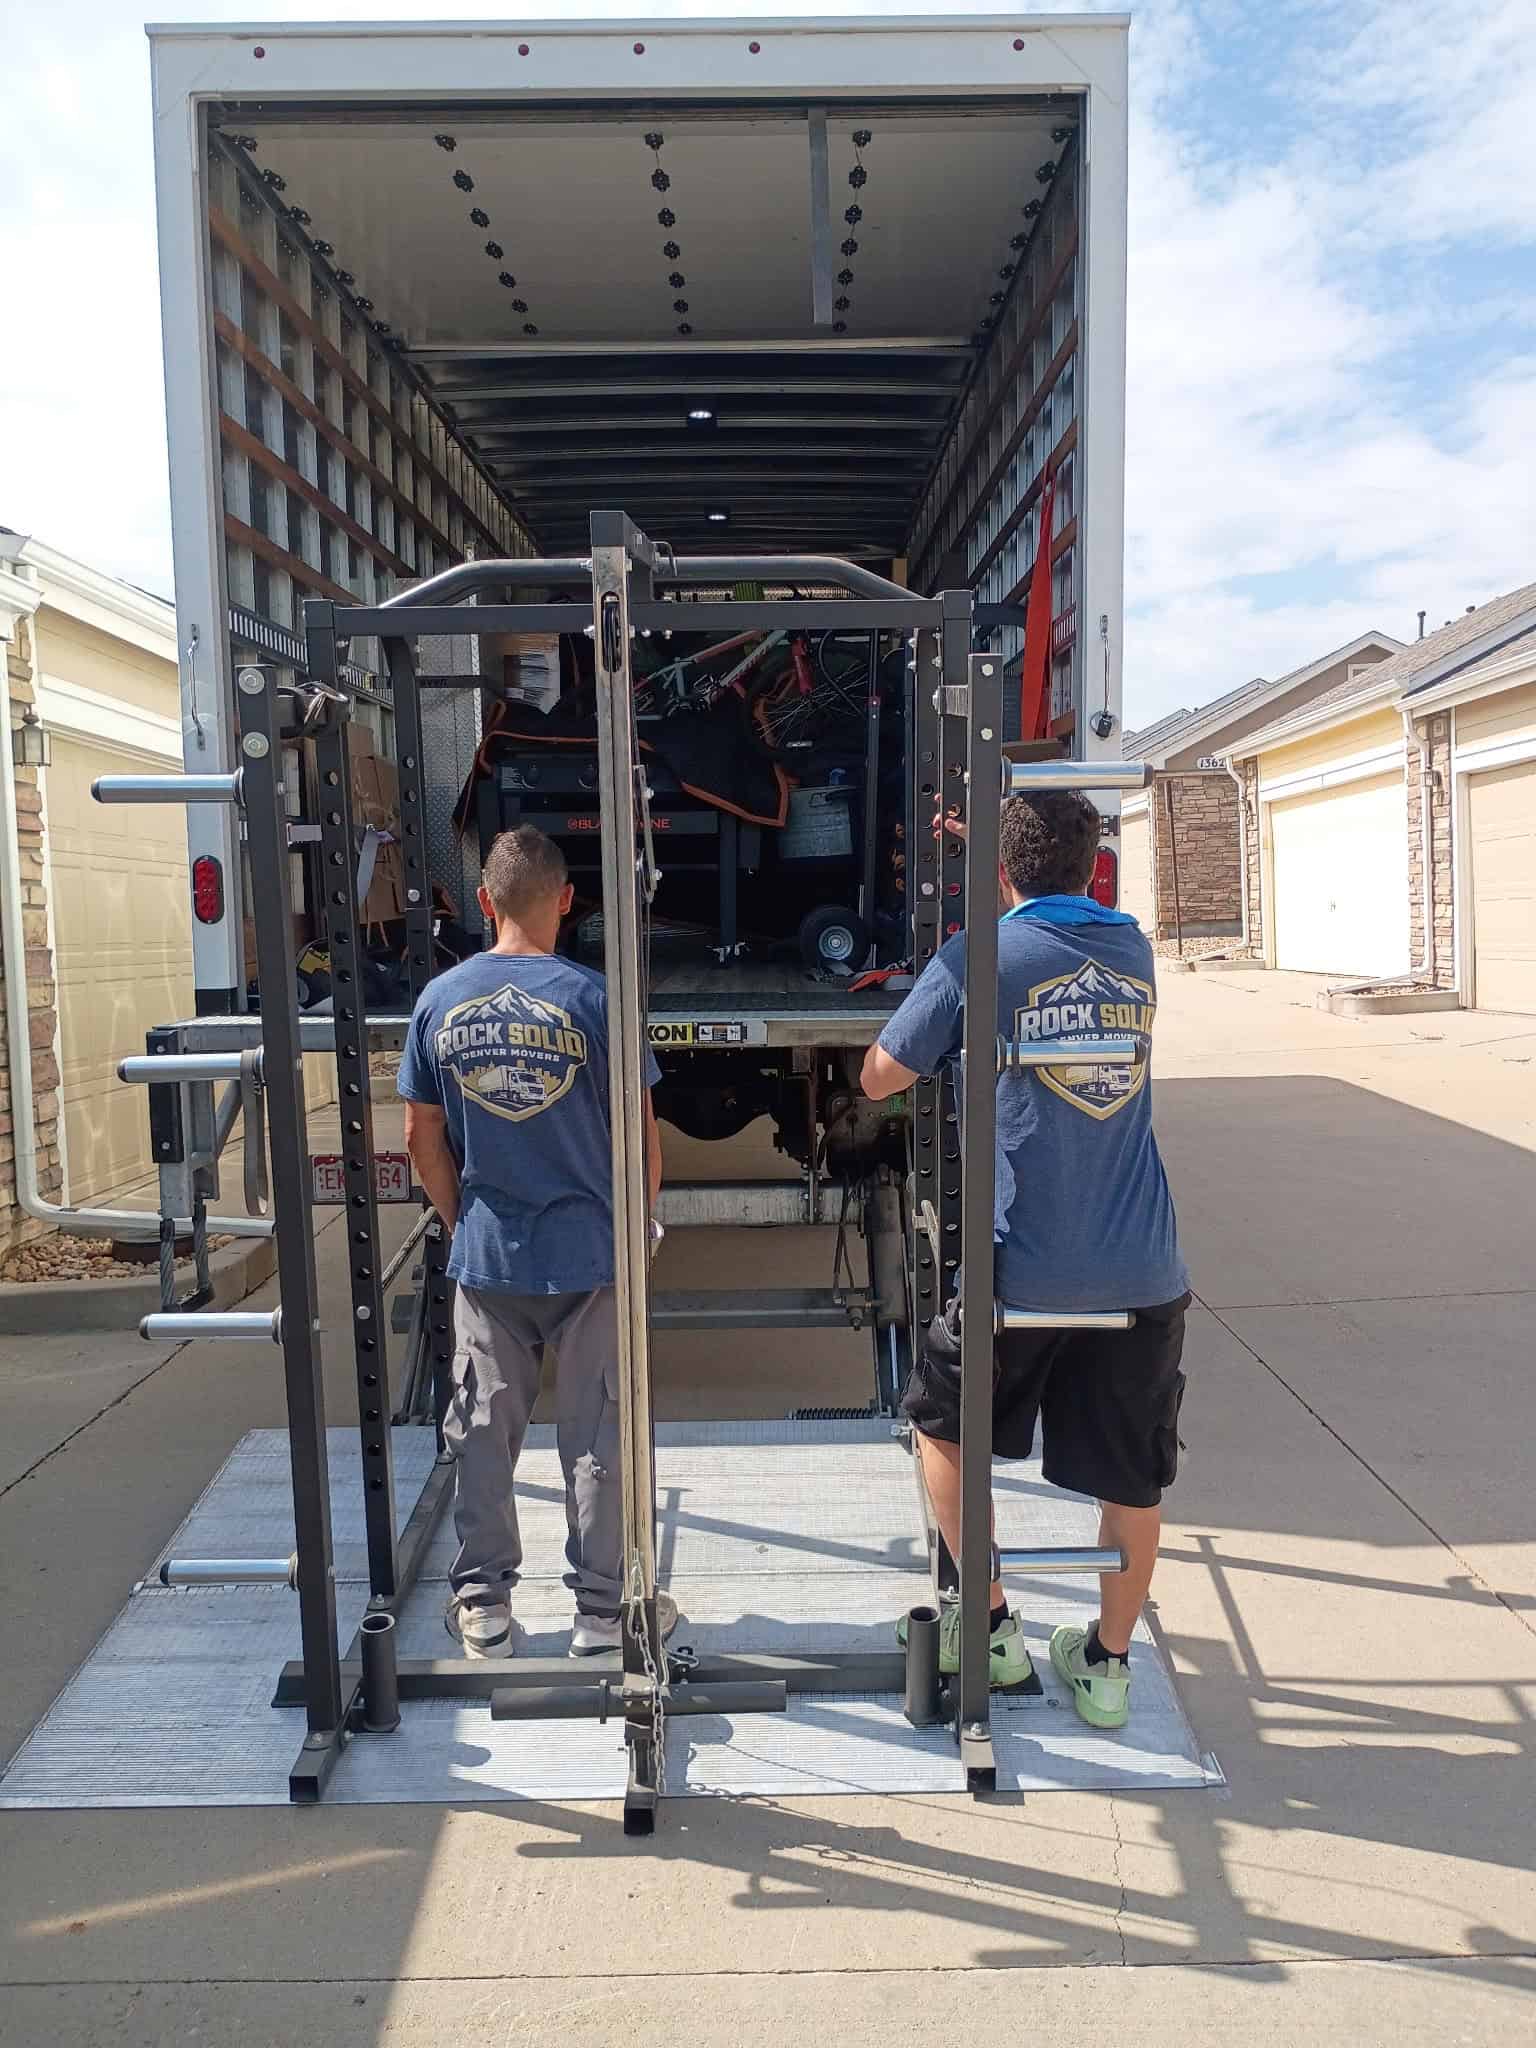

Moving a pool table isn’t just about getting it from point A to point B; it’s about meticulously reassembling and leveling it to ensure optimal play. A perfectly flat playing surface is the cornerstone of any enjoyable game of pool. Even the slightest tilt or unevenness can drastically alter ball trajectories, leading to frustration and an unfair game. This is why understanding “how a pool table is leveled after moving” is so crucial.
The process of “level pool table after moving” goes beyond simply adjusting a few feet; it involves a detailed calibration of the entire playing surface. From the initial base leveling to the intricate process of “slate seam leveling,” every step is designed to achieve precision. This intricate work is why it’s almost always handled by experienced professionals. For those in need of expert assistance, dedicated services like pool table movers denver can ensure your table is perfectly set up in its new location.
💡 Key Takeaway: Proper “pool table leveling” after a move is essential for accurate gameplay. The process, including precise “slate seam leveling” and base adjustments, requires specialized knowledge and tools. This complex task is typically performed by professionals to ensure the table is perfectly flat.
The Multi-Stage Process of Pool Table Leveling
1. Initial Base Leveling and Cabinet Adjustment
The first step in “level pool table after moving” involves establishing a solid, level foundation for the entire table structure. This happens even before the heavy slate pieces are put into place.
- Cabinet Leveling: The installer begins by positioning the main cabinet frame of the pool table in its desired location. Using a high-precision level (often a machinist’s level or a long, accurate carpenter’s level), they check the levelness both lengthwise and across the frame.
- Leg Levelers and Shims: Most modern pool tables come equipped with adjustable leg levelers. These are the primary tools used to achieve initial levelness. The installer will adjust each leg up or down until the cabinet is as close to perfectly level as possible. If the floor itself is significantly uneven or the levelers run out of travel, shims (small pieces of wood or composite material) may be strategically placed directly under the table’s feet to provide additional stability and height adjustment.
- Why it Matters: A stable and level cabinet is the foundation. Without it, even perfectly leveled slate pieces might eventually shift or put undue stress on the frame, leading to future problems.
2. The Art of Slate Placement and “Slate Seam Leveling”
Once the frame is level, the focus shifts to the heavy slate bed, which forms the actual playing surface. This is where the true precision of “pool table leveling” comes into play.
- Careful Slate Positioning: Pool tables typically use three large, heavy pieces of slate (each weighing 150-250 lbs or more). These are carefully lifted onto the frame. The center piece is usually placed first, followed by the two end pieces. The goal is to align the seams between the slate pieces as perfectly flush as possible, not just close.
- Shimming Under the Slate: This is a critical and delicate step. Using very thin wooden shims, the installer will meticulously raise or lower specific points *between the slate and the frame* to bring all three pieces to an identical height and level. They’ll run a finger across the seams, feeling for any ridge, and use a precision level to ensure there are no height differences across the entire playing surface or at the seams. This is a primary component of “slate seam leveling.”
- Screwing Down the Slate: Once the slate pieces are perfectly leveled and aligned, they are carefully screwed down to the frame, securing them in place. The screws are strategically placed to hold the slate firmly without creating stress points.
💡 Key Takeaway: “Level pool table after moving” begins with ensuring the entire cabinet frame is level using adjustable leg levelers and shims. The subsequent “slate seam leveling” involves meticulously positioning and shimming the heavy slate pieces on the frame, ensuring all three sections are perfectly flush and level across their seams, a task requiring extreme precision.
3. Filling the Slate Seams for a Seamless Play
Even with meticulous “slate seam leveling,” tiny imperfections or gaps can exist where the slate pieces meet. This is addressed through a specialized filling process.
- Cleaning the Seams: Before filling, the installer thoroughly cleans the seams to ensure no dust or debris is present. Metal tools are avoided to prevent scratching the slate.
- Applying Beeswax or Filler: A specialized pool table beeswax or a similar, non-shrinking filler is carefully warmed and pressed firmly into the entire length of each seam using a putty knife. The goal is to overfill slightly.
- Scraping and Smoothing: Once the filler is applied, it’s meticulously scraped level and smooth with the slate surface. The installer will often use a wide, flat scraper to ensure that a rolling ball cannot feel where one section of slate ends and the next begins. This creates a truly seamless playing surface.
- Why it Matters: Imperfect seams can cause balls to deflect unnaturally, altering their path and making precise shots impossible. Proper seam filling is critical for consistent ball roll and fair play.
4. The Importance of Professional Installation
The complexity and precision required for “pool table leveling” make it a job best left to experts.
- Specialized Tools: Professionals use specific levels, shims, and seam-filling materials that are not typically found in a homeowner’s toolbox.
- Experience and Technique: Knowing exactly where and how much to shim, how to properly align and screw down slate without cracking it, and how to create perfectly smooth seams comes from years of experience.
- Prevents Damage and Ensures Longevity: Incorrect leveling can lead to damaged slate, warped frames, or premature wear on the felt. Professional installation protects your significant investment and ensures the table lasts for decades.
- Optimal Play: Ultimately, a professional’s expertise guarantees the table is set up to provide the best possible playing experience, allowing for true rolls and predictable shots.
Pool Table Leveling Process Overview
| Stage | Key Actions | Why it’s Crucial |
|---|---|---|
| Frame Leveling | Adjust leg levelers; shim under feet. | Establishes stable, level foundation for entire table. |
| Slate Placement & Shimming | Position slate pieces; meticulously shim between slate/frame. | Ensures all slate pieces are at identical height and perfectly flush. |
| Seam Filling | Clean seams; apply/scrape beeswax/filler. | Eliminates ridges/gaps for seamless ball roll and fair play. |
| Felt Installation (Optional for Leveling) | Stretch and secure felt evenly (after leveling). | Provides smooth playing surface, protects slate. |
💡 Key Takeaway: After “slate seam leveling,” filling the seams with beeswax or a specialized filler and meticulously scraping it smooth creates a truly seamless playing surface. Due to the specialized tools, extensive experience, and high precision required, “pool table leveling” is a job best entrusted to professional installers to protect your investment and guarantee optimal gameplay.
Conclusion
The process of “how a pool table is leveled after moving” is far more involved than many realize, requiring a delicate balance of heavy lifting, precise measurement, and meticulous detailing. From stabilizing the cabinet base to performing intricate “slate seam leveling” and filling, each step is critical to achieving the perfectly flat playing surface essential for an enjoyable and fair game. This complex, multi-stage task is why professional installation is not just a luxury, but often a necessity, safeguarding your investment and ensuring that your pool table delivers years of superior performance.
Have questions about how to level pool table after moving? Reach out to our team today.
Frequently Asked Questions About Pool Table Leveling
Why is “pool table leveling” so important after a move?
“Pool table leveling” is crucial after a move because even the slightest tilt can dramatically affect gameplay. A non-level table will cause balls to drift, making accurate shots and strategic play nearly impossible. Proper leveling ensures the balls roll true and predictably, providing a fair and enjoyable playing experience.
What tools are used for “slate seam leveling”?
“Slate seam leveling” typically involves using a high-precision level (like a machinist’s level), very thin wooden or composite shims, and sometimes specialized slate jacks to carefully adjust the height of individual slate pieces. For filling the seams, beeswax or a professional-grade filler, along with a putty knife and a flat scraper, are used.
Can I “level pool table after moving” myself?
While technically possible for some, “level pool table after moving” is highly recommended to be done by professionals. The slate pieces are extremely heavy and fragile, risking injury or damage if not handled correctly. The precision required for base leveling, slate shimming, and seamless seam filling demands specialized tools and extensive experience that most homeowners do not possess.
How long does “pool table leveling” take?
The time it takes to “level pool table after moving” can vary depending on the table’s size, its condition, the level of the floor, and the experience of the installer. Generally, a complete professional installation and leveling can take anywhere from 2 to 4 hours, sometimes longer for very large or complex tables or challenging environments.